
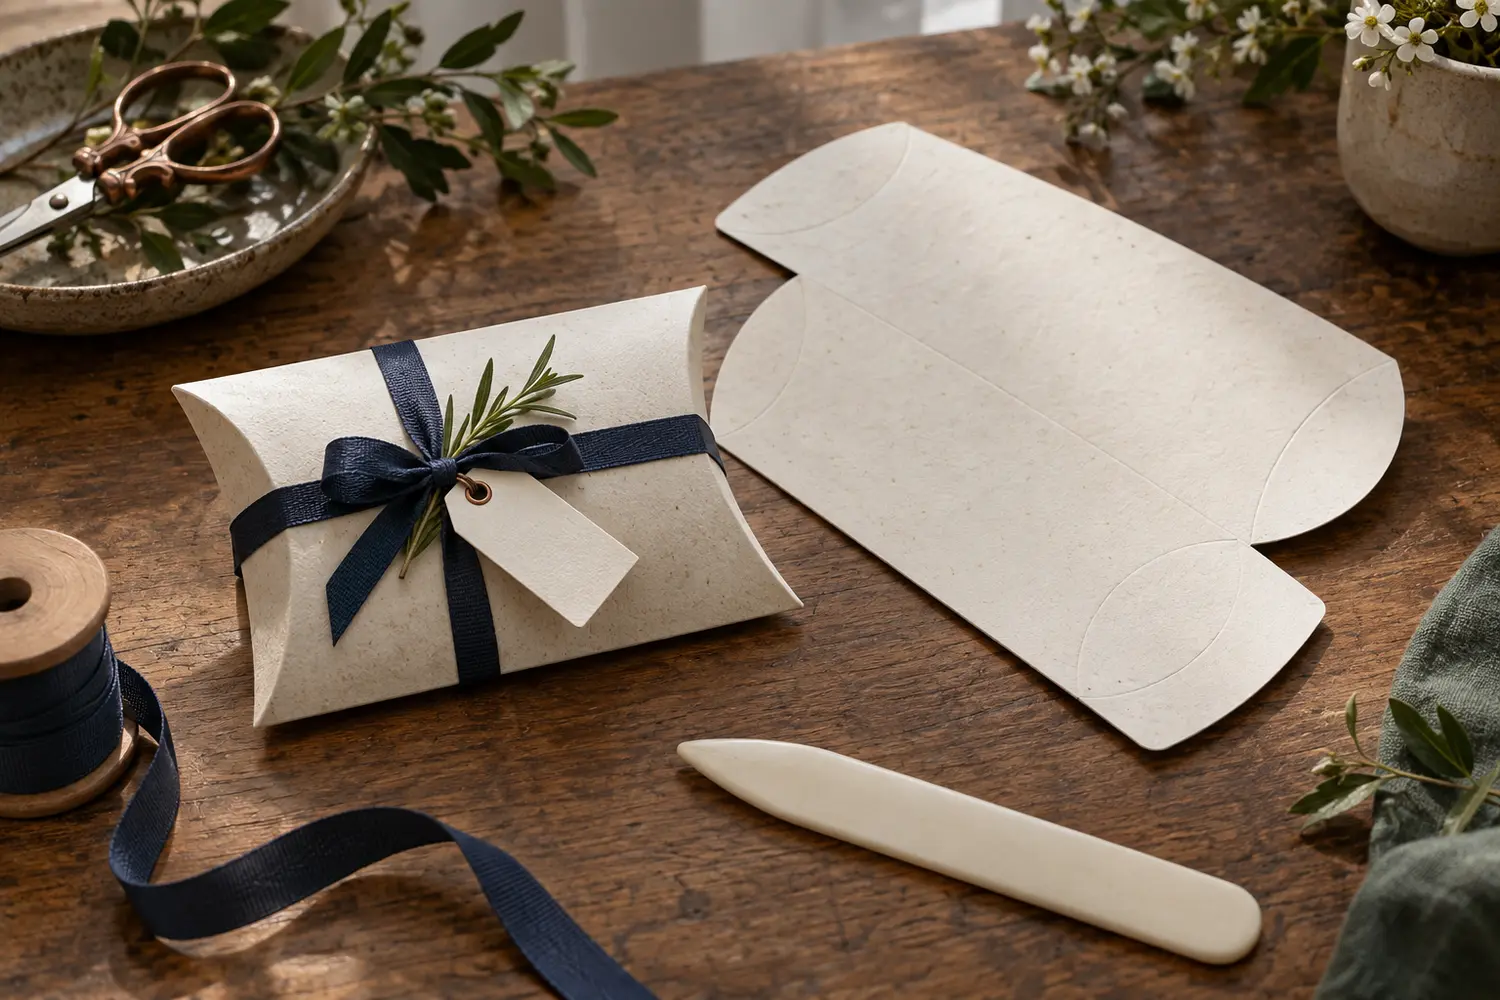
 You will need:
- 1 sheet patterened paper, cardstock weight
- bone folder
- adhesive
- pillowbox template. (there are lots of them online - do a google search under images) the one I used can be found here
Original archive image unavailable
Original archive image unavailable
1. Cut out your pillowbox template and trace it onto your patterned paper
Original archive image unavailable
2. Cut the pillowbox shape out of the patterned paper.
Original archive image unavailable
3. Lay the template ontop of the patterned paper cut out and trace the lines with a bone folder. Press hard.
Original archive image unavailable
4. Fold along all the lines, press with bone folder if needed
Original archive image unavailable
5. Carfeully fold in the side flaps, this can be a little tricky
Original archive image unavailable
6. Glue the small flap to the inside of the box
Original archive image unavailable
7. Fold sides in on both sides and your box is complete!
Original archive image unavailable
Add some ribbon, embellishments and a tag and it’s ready to give as a gift.
Craft · Make & Create
Gift Card Pillow Box Tutorial
You will need: - 1 sheet patterened paper, cardstock weight - bone folder - adhesive - pillowbox template. (there are lots of them online - do a google search under images) the one I used can be found here 1. Cut out your pillowbox template and trace it onto your patterned paper 2. Cut the pillowbox
 Save what speaks to you
From the worktable
You will need:
- 1 sheet patterened paper, cardstock weight
- bone folder
- adhesive
- pillowbox template. (there are lots of them online - do a google search under images) the one I used can be found here
Original archive image unavailable
Original archive image unavailable
1. Cut out your pillowbox template and trace it onto your patterned paper
Original archive image unavailable
2. Cut the pillowbox shape out of the patterned paper.
Original archive image unavailable
3. Lay the template ontop of the patterned paper cut out and trace the lines with a bone folder. Press hard.
Original archive image unavailable
4. Fold along all the lines, press with bone folder if needed
Original archive image unavailable
5. Carfeully fold in the side flaps, this can be a little tricky
Original archive image unavailable
6. Glue the small flap to the inside of the box
Original archive image unavailable
7. Fold sides in on both sides and your box is complete!
Original archive image unavailable
Add some ribbon, embellishments and a tag and it’s ready to give as a gift.