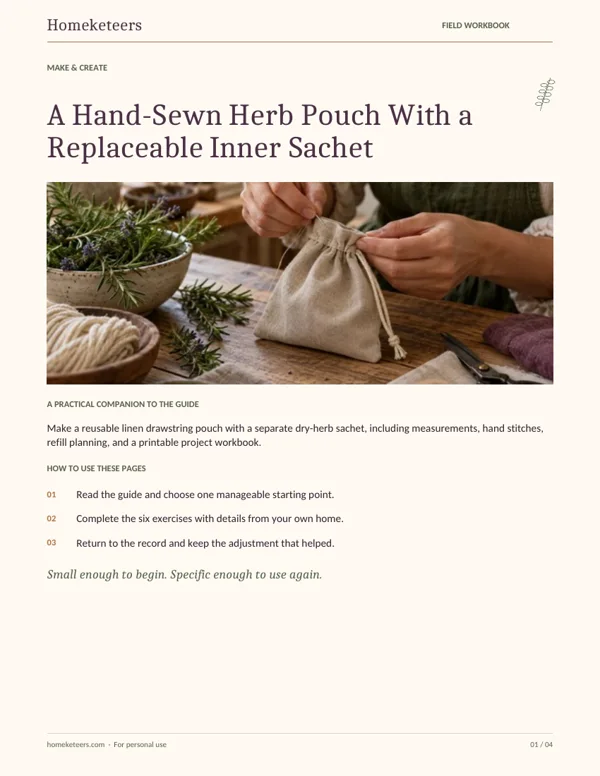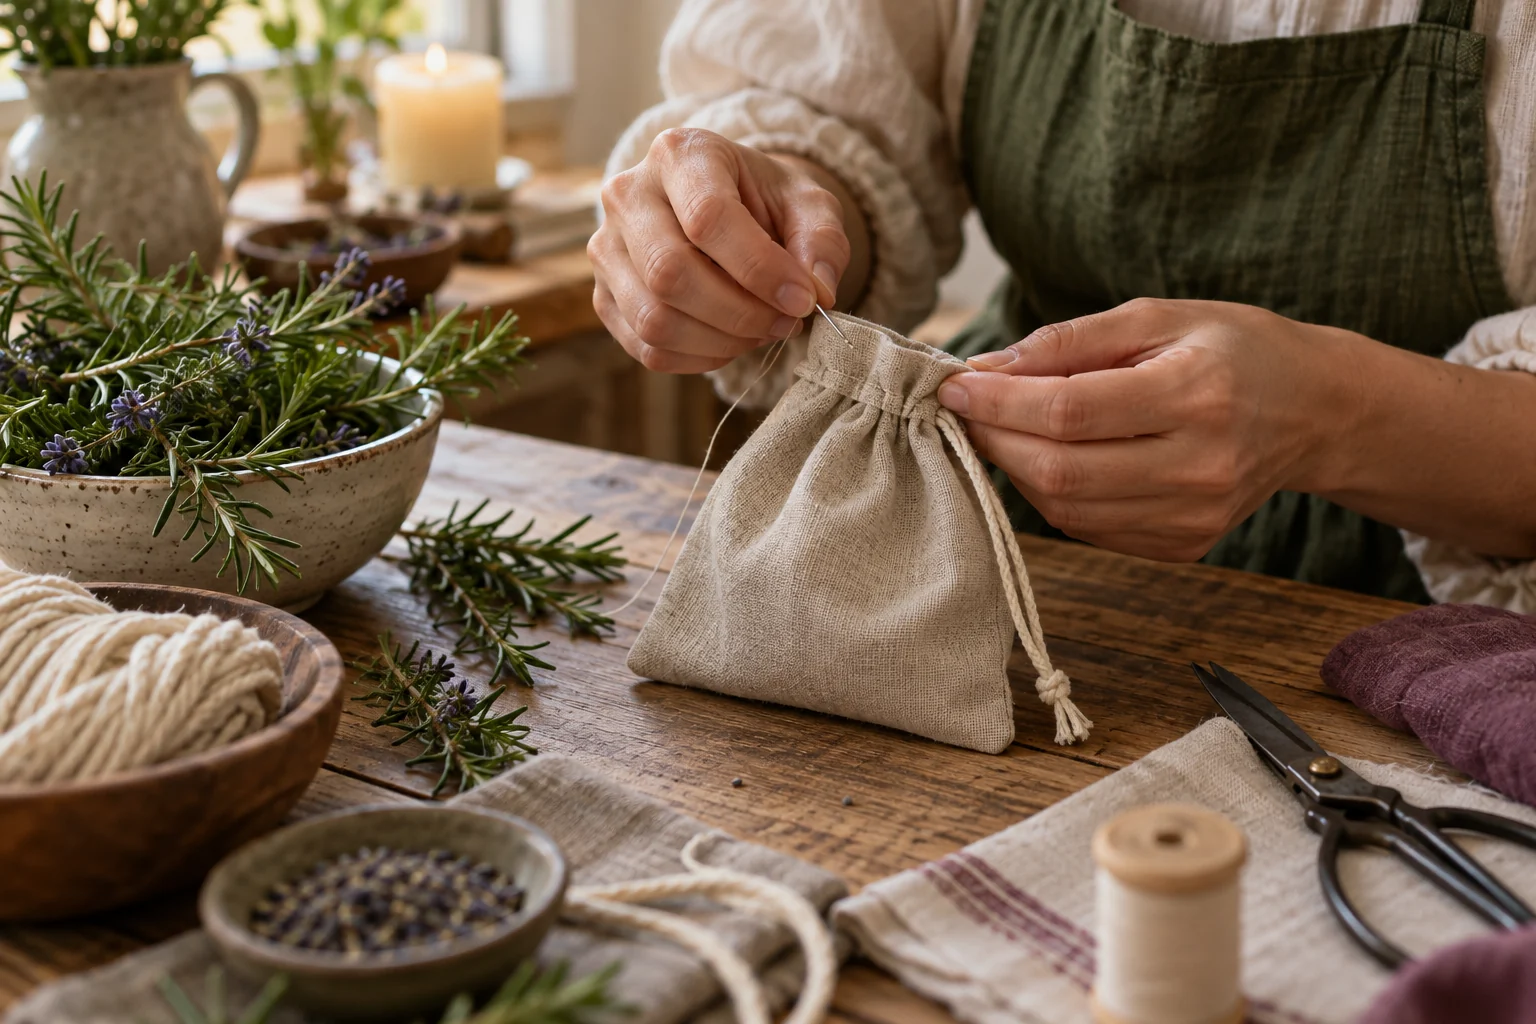
A small herb pouch can be a pleasant object to keep with a journal or give as a modest handmade gift. Its useful design problem is maintenance. Loose herbs leave dust in seams, a permanent filling cannot be removed for washing, and a fragrance that delights one person may bother another. This project separates the decorative outer pouch from a removable inner sachet. You can clean one, replace the other, or leave the pouch unfilled.
The project uses hand sewing and a simple drawstring channel. It does not claim that herbs purify air, treat illness, improve sleep, or repel every pest. Choose it for the craft and an optional scent you enjoy. Keep filled sachets away from young children and pets, and avoid ingredients that cause sensitivity in the intended user. An unscented pouch is a complete version of the project.
Choose fabric and filling separately
For the outer pouch, cut two rectangles of linen or woven cotton, each six inches wide by eight inches tall. For the inner sachet, cut two rectangles of tightly woven cotton, each four inches square. You will also need matching thread, a hand-sewing needle, scissors, a ruler, pins or clips, and about thirty inches of cotton cord. These dimensions make a small pouch with room for an insert; they are not a fitted pattern for a specific object.
Use clean, fully dry fabric. Wash and dry it first if future shrinkage would be a problem. Choose a filling only after considering the person and setting. A small quantity of commercially dried culinary rosemary or another familiar dried herb is easier to evaluate than an unidentified foraged plant. Do not add essential oils or damp plant material. Moisture inside a closed textile pouch can create a storage problem.
Hem the drawstring edges first
On each outer rectangle, fold the top edge down a quarter inch, then down another three-quarters of an inch. Press or finger-crease the fold and pin it. Sew along the lower folded edge to create a channel, using small running stitches with an occasional backstitch for reinforcement. Keep the ends of the channel open. The cord must pass through the channel rather than being caught in the seam.
Test the opening with the cord before joining the pouch. If the channel is too narrow, adjust it now. This is a good place to practice patient sewing because the seam remains visible. A slightly uneven line is acceptable if the folded edge is held securely and the drawstring can move. Avoid making the stitch length so large that the fold opens between stitches.
Join the body without closing the channels
Place the outer rectangles together with their right sides facing. Align the top folds. Starting just below one channel, sew down the side, across the bottom, and up the other side with a half-inch seam allowance. Stop below the second channel. Use backstitch for these body seams: bring the needle up, step back into the previous stitch's end, then emerge forward for the next stitch.
Check that you have sewn both layers and left both channel ends free. Trim bulky corner tips without cutting the stitches. Turn the pouch right side out and ease the corners gently with a blunt tool. Do not push a sharp needle into the corner to force it outward. Inspect the bottom seam before continuing; it will hold the insert when the pouch hangs or is carried.
Make an inner sachet you can remove
Place the two cotton squares right sides together. Sew around three sides and most of the fourth with a quarter-inch seam allowance, leaving an opening for turning. Turn it right side out. Add only enough fully dried herb for a loose, flexible filling, roughly a tablespoon for a first trial. A crowded sachet is harder to handle and inspect.
Fold the opening inward and sew it closed securely with small stitches. Label a separate project record with the contents and date. If the fabric allows herb dust through, use a more tightly woven insert rather than adding more outer layers to disguise the problem. The sachet should remain removable. Do not stitch it permanently into the outer pouch or attach it where the drawstring cannot release it.
Thread, close, and test
Attach the cord to a small safety pin or another suitable threading tool and pass it through one channel, then the other. Remove the threading tool and tie the cord ends together. Pull gently to close the top. If the fabric bunches awkwardly, check for a stitch catching the channel or a cord that is too thick. Do not solve a blocked channel by pulling harder.
Insert the sachet and test the pouch on a table. Open and close it several times. Check that the insert can be removed easily and that the bottom seam stays sound. Keep the cord short enough for the intended use and away from children who could become entangled. This is a decorative storage object for appropriate adult use, not a toy or a wearable item for a child.
Give it with information and a real choice
If gifting, ask whether the recipient wants a scented insert. Include the herb name, the filling date, and a note that the insert should be removed before washing the outer pouch. Do not describe the gift as a remedy or attach a promise about its effects. You can offer an empty pouch for jewelry, keepsakes, or another suitable small object instead.
Inspect a filled sachet periodically and discard it if it becomes damp, discolored, or otherwise questionable. Replace it when desired rather than repeatedly adding fragrance to an old filling. Keep the outer pouch as the lasting part of the project. That separation is what makes the design useful: the handmade object can continue serving its owner after the original contents have finished their small role.
Your Homeketeers field workbook: put this guide into practice
Use the workbook as a cutting record, stitch plan, and care card. It includes a place to document an unscented version, so the project does not depend on someone enjoying a particular herb. Keep the finished measurements alongside the pattern. If you resize the pouch later, the record will show which channel and insert dimensions actually worked.
Plan the intended use
Write who will use the pouch and where it will be kept. Decide whether the version is scented or empty. Note sensitivities, pets, children, and any other reason to avoid a filling or long cord. Make the design decision before cutting fabric. A thoughtful empty pouch can be more useful than a fragrant gift the recipient feels obliged to tolerate.
Record the cut pieces
Draw the two outer rectangles and two inner squares with their dimensions. Mark the top channel folds and seam allowances. Check that the inner sachet will fit after seams reduce the outer size. Keep a small fabric swatch if helpful. This record lets you repeat the pouch or resize it without relying on the dimensions of an unwashed finished object.
Practice the two stitches
Use a scrap to try the running stitch for the folded channel and backstitch for the body seams. Record which thread and needle are manageable. Check whether your stitches hold both layers. Keep the practice scrap beside the project so you can compare tension. The aim is a secure seam that remains flexible, not decorative uniformity on every stitch.
Check the channel and closure
Before closing the body, pass the cord through the channel. After turning, open and close the pouch several times. Record any obstruction and its cause. Check cord length for the intended adult use. Fix a caught stitch or narrow fold directly rather than forcing the drawstring. A working closure is part of the design, not an optional final detail.
Label the removable insert
Record the herb name, source, filling date, and approximate amount, or mark the insert unscented. Confirm that all contents are fully dry and that dust stays inside the fabric. Write when you will inspect it. Keep this information with the pouch or gift card so a future user can make an informed choice about keeping or replacing the filling.
Write the care card
State that the insert must be removed before washing the outer pouch. Add fabric-appropriate care and a reminder to discard questionable filling. Include a simple description of the alternate empty use. A useful care card is brief enough to keep and specific enough to act on. It should contain practical information rather than promises about fragrance or wellness.
Keep a record that tells you what actually changed
After a week of use, check the seams, drawstring, and ease of removing the insert. Notice whether the scent is welcome in the actual setting. If it is not, remove the filling without treating the project as a failure. Record one adjustment for a second pouch, such as a wider channel or a tighter weave for the sachet. Keep the outer pattern and care card together. The durable value of this project is a small object that can change purpose, be cleaned, and remain useful without requiring its owner to keep the original contents forever.