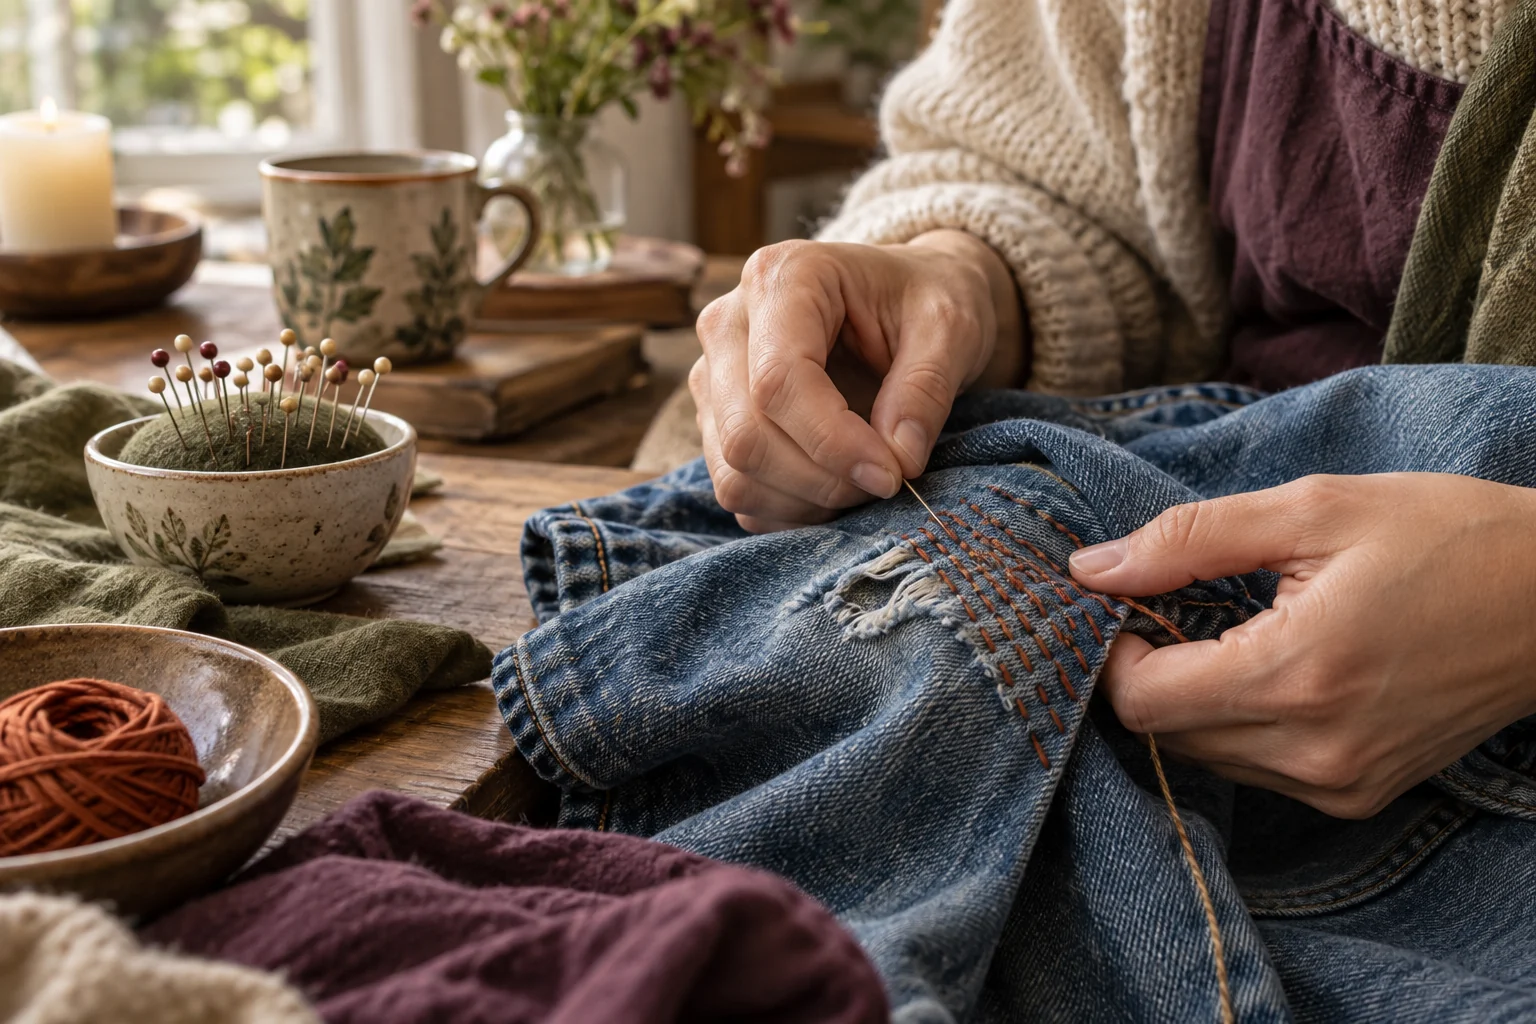
Visible mending can make a worn garment useful again while leaving a record of the repair. The difficulty for a beginner is often where to start. Your favorite jeans are not the most forgiving place to discover that your thread is too thick or your patch pulls when you sit. Make a small sampler first. It lets you learn the handling of the fabric without putting a garment you need at risk.
This Homeketeers sampler uses a scrap of woven denim, a backing patch, and ordinary running stitches. It is a learning project, not a professional repair for every fabric. Stretch denim, delicate cloth, heavily frayed areas, and seams under substantial strain need different decisions. The sampler helps you notice those limits before you commit to a larger repair.
Gather a small, sensible kit
Use a denim scrap about eight inches square, a woven cotton patch about four inches square, a sharp hand-sewing needle suited to the layers, scissors, a washable fabric marker, pins or clips, and a manageable length of thread. A thimble can protect the finger that pushes the needle. Choose thread that passes through your needle and fabric without excessive force. Heavy decorative thread looks appealing but may make a first project unnecessarily difficult.
Keep needles, pins, and scissors away from young children and pets. Work in enough light to see your stitch placement. You do not need a special mending kit or imported supplies. A clean scrap from an unusable cotton garment can serve as backing. Avoid a backing so stiff that the repaired area no longer moves with the garment.
Mark a practice opening and generous backing
For the first sampler, draw a one-inch oval on the denim. You can practice reinforcement over the marked area without cutting it. If you want to practice an actual opening later, make a small slit in a separate scrap and keep the backing clearly larger than the damaged area. The surrounding sound fabric must support the stitches. A patch that barely covers a hole gives the repair little margin.
Place the patch behind the marked area with its grain running in a similar direction to the denim. Smooth both layers without stretching them. Clip or pin around the edge, keeping sharp points out of your hand's path. Check that the backing has not folded underneath. This quiet setup step prevents a surprisingly common problem: sewing a wrinkle into the repair and discovering it only at the end.
Sew the first row slowly
Thread the needle with roughly eighteen inches of thread. A shorter length tangles less readily than a long one. Secure the beginning with a small knot or a few anchoring stitches in sound cloth. Start outside the marked oval and take small up-and-down stitches through both layers. Pull the thread until it lies against the fabric, rather than tightening it into a pucker.
Practice a row of roughly equal stitches, then turn the sampler and inspect the back. You are looking for connection through both layers and a surface that remains relatively flat. Exact uniformity is unnecessary. If the thread snags, stop and untangle it gently. If pushing the needle requires too much force, change the needle, thread, or number of layers instead of forcing a sharp tool toward your hand.
Add reinforcement without making a board
Sew several parallel rows across the marked area, extending into sound fabric on each side. For a second practice section, add crossing rows and compare the flexibility of the two areas. Dense stitching can strengthen a patch but also make it stiff. A garment at the knee needs to bend. The goal is not to cover every visible space with thread.
Keep checking the tension. Set the sampler flat after each row and loosen any stitch that gathers the cloth. At the end, secure the thread with a few small stitches on the back in a sound section, then trim it. Remove pins or clips and gently flex the sample. If the patch edge lifts, add a few stitches through both layers along that edge. Avoid sewing only into weakened threads beside the marked opening.
Translate the sample into a garment decision
Look at the actual garment before you copy the method. Is the area thin beyond the visible hole? Does the fabric stretch? Is the damage close to a seam? Can you reach the back without catching another garment layer? Mark the full worn area, not just the opening, and choose backing that reaches sound cloth. A damaged seat seam may call for a more substantial repair than a decorative knee patch.
Try on the garment before sewing and note how the area moves. Place the patch with enough ease for that movement. Do not pin through clothing while someone is wearing it. Remove the garment and check the position on a table. For a treasured or expensive item, a tailor or experienced repairer may be the better choice. Learning when to ask for help is part of learning the craft.
Keep a useful repair record
Photograph the front and back of your sampler, or sketch them in the workbook. Record the needle, thread, number of layers, and whether the finished section bends comfortably. Those details are more useful than a beautiful photograph alone. You can reproduce a successful combination without buying new supplies each time.
Wash the sample according to the fabric's needs before using the method on a garment if color transfer or shrinkage is uncertain. Compare it after drying. A repair is part of an object that will be worn and cleaned, not merely displayed. Keep the sampler as a reference, including its imperfect section. The place where your stitches became too tight may teach you more than the row that looked neat from the beginning.
Your Homeketeers field workbook: put this guide into practice
The printable sampler record pairs a stitch sketch with practical tests. Use it to document the first attempt and plan one garment repair. Leave room for what you would change. A mending practice grows through observations about movement, tension, and wear. The workbook is designed to preserve those observations alongside your materials, rather than ask you to produce a flawless decorative pattern.
Inventory the materials
Record the fabric type, backing, thread, needle, and tools you already have. Note stretch or unusual thickness. Identify one substitute if the first combination is difficult to sew. This keeps the project small and helps you trace a problem to a material choice instead of assuming that uneven stitches mean you are unable to learn the technique.
Draw the worn area and backing
Sketch the marked oval and the patch around it. Show where sound fabric begins and where your stitches will extend. Add the direction of the fabric grain if you can identify it. Keep the backing margin visible on the drawing. The plan should make clear that the repair is held by usable cloth, not only by the edge of a hole.
Compare two stitch rows
Draw one loose row and one row with slightly closer spacing. Sew both on the sampler and compare their appearance and flexibility. Record the thread tension that kept the layers flat. Do not assign a beauty score. The useful distinction is how the row behaves when you bend the fabric and whether the backing remains connected to the front.
Test the finished sample
Flex the sample, inspect the back, and look for gathered cloth or lifting patch edges. If washing is appropriate, record the result after drying. Note any color transfer or change in size. These checks reveal how the repair may behave in use. Make one adjustment and test again before applying the method to a garment you rely on.
Plan the garment repair
Identify the garment, the full worn area, and how that area moves when worn. Check access to the back and whether a seam or stretch fabric changes the task. Choose a patch that reaches sound material. Write a reason to pause or seek an experienced repairer if the damage is beyond this simple running-stitch method.
Record the next repair choice
Write one material combination you would use again and one change you would make. Include a small sketch or attach a photograph if you wish. Store the sample with the record. A useful next choice might be lighter thread, a softer backing, or wider stitch placement. Keep it specific enough that you can act on it without repeating the whole experiment.
Keep a record that tells you what actually changed
Return to the repaired garment after a few wears and its normal cleaning cycle. Check whether the patch remains flat, the stitching holds, and the area moves comfortably. Record wear at the edges, not just whether the center still looks attractive. Reinforce a small weakness before it becomes a larger opening when appropriate. If the garment is no longer repairable, the sampler still has value as a record of technique. Visible mending does not require saving every object indefinitely. It gives you another informed choice about how to use, care for, and eventually release the things you own.