
This Tutorial included products provided for review by Hot Off the Press – PaperWishes.com
As I let you know in our earlier tutorial for the Pretty Little Purses Template, I am without my Cricut and all my craft supplies, so I am working with the bare minimum necessary to get the result I want. I know there are many women there who can't afford to have every tool she wants for her scrapbooking hobby, and I want to show you how with most of your everyday household items and a few really great scrapbook products you can make some truly inspired pieces.
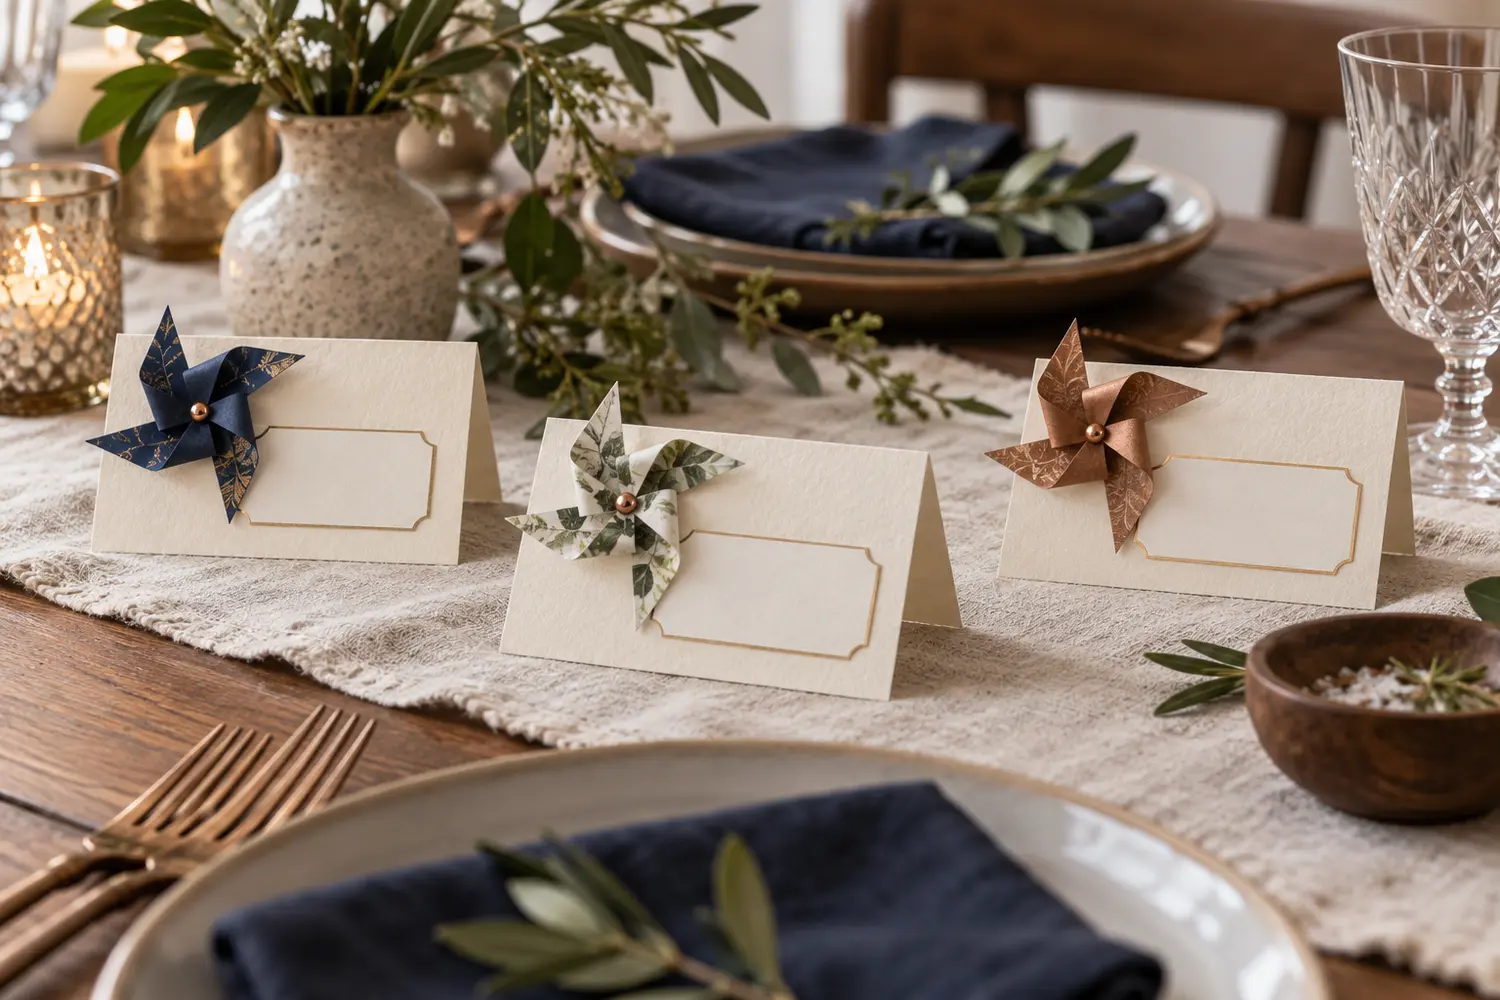
 Hot Off the Press sent both Jess and I each a box of goodies to review, in these boxes we both received 5 templates. One of them was the Playful Pinwheels Template ($6.99 on their site). Now we all know that Pinwheels are one of the HOT craft items right now. And that for a basic pinwheel you don't need a template, just make a square, cut the corners to the center, stopping about 2/3 the way through, fold over and attach together with a brad. But, the Perfect Pinwheels Template has 6 Pinwheel Patterns (two are your standard square version) and it makes it very easy to get a perfect square when you are wanting to grab a specific section of a patterned paper. Using the Playful Pinwheels Template, Tiny Tags & Little Labels Template and a few sheets from the Grapefruit Double Sided paper collection, I created place setting name cards for a party table.
 You will need:
Playful Pinwheels Template - Tiny Tags & Little Labels Template - Coordinating double sided papers - adhesive of your choice
Step One: Line up your paper and your pinwheel template, trace
You will need:
Playful Pinwheels Template - Tiny Tags & Little Labels Template - Coordinating double sided papers - adhesive of your choice
Step One: Line up your paper and your pinwheel template, trace
 Step Two: Cut out your Pinwheel, fold corner to center and attach each piece as you go, add center embellishment if you want

 Step Three: Cut a rectangle of coordinating paper (I did 3.25 inches by 2.5 inches)
 Step Four: Fold rectangle in thirds
 Step Five: Fold 1/4 inch up one edge of rectangle
 Step Six: Trace and Cut out your desired Label for front of Place Setting

 Step Seven: Attach label and pinwheel to front of Place Setting
Step Eight: Adhere 1/4 inch folded edge to other edge with the folded edge inside
Step Seven: Attach label and pinwheel to front of Place Setting
Step Eight: Adhere 1/4 inch folded edge to other edge with the folded edge inside

 Hot Off the Press sent both Jess and I each a box of goodies to review, in these boxes we both received 5 templates. One of them was the Playful Pinwheels Template ($6.99 on their site). Now we all know that Pinwheels are one of the HOT craft items right now. And that for a basic pinwheel you don't need a template, just make a square, cut the corners to the center, stopping about 2/3 the way through, fold over and attach together with a brad. But, the Perfect Pinwheels Template has 6 Pinwheel Patterns (two are your standard square version) and it makes it very easy to get a perfect square when you are wanting to grab a specific section of a patterned paper. Using the Playful Pinwheels Template, Tiny Tags & Little Labels Template and a few sheets from the Grapefruit Double Sided paper collection, I created place setting name cards for a party table.
 You will need:
Playful Pinwheels Template - Tiny Tags & Little Labels Template - Coordinating double sided papers - adhesive of your choice
Step One: Line up your paper and your pinwheel template, trace
You will need:
Playful Pinwheels Template - Tiny Tags & Little Labels Template - Coordinating double sided papers - adhesive of your choice
Step One: Line up your paper and your pinwheel template, trace
 Step Two: Cut out your Pinwheel, fold corner to center and attach each piece as you go, add center embellishment if you want

 Step Three: Cut a rectangle of coordinating paper (I did 3.25 inches by 2.5 inches)
 Step Four: Fold rectangle in thirds
 Step Five: Fold 1/4 inch up one edge of rectangle
 Step Six: Trace and Cut out your desired Label for front of Place Setting

 Step Seven: Attach label and pinwheel to front of Place Setting
Step Eight: Adhere 1/4 inch folded edge to other edge with the folded edge inside
Step Seven: Attach label and pinwheel to front of Place Setting
Step Eight: Adhere 1/4 inch folded edge to other edge with the folded edge inside
