
This Tutorial included products provided for review by Hot Off the Press - PaperWishes.com
As I let you know in our earlier tutorial for the Pretty Little Purses Template, I am without my Cricut, so the templates sent to me to review were such a wonderful surprise.
In particular the Tiny Tags and Little Labels template and the Build a Banner template were AMAZING! The Tiny Tags & Little Lablels template has 9 tags and 22 label templates! And the Build a Banner template has 19 different flag and banner templates!
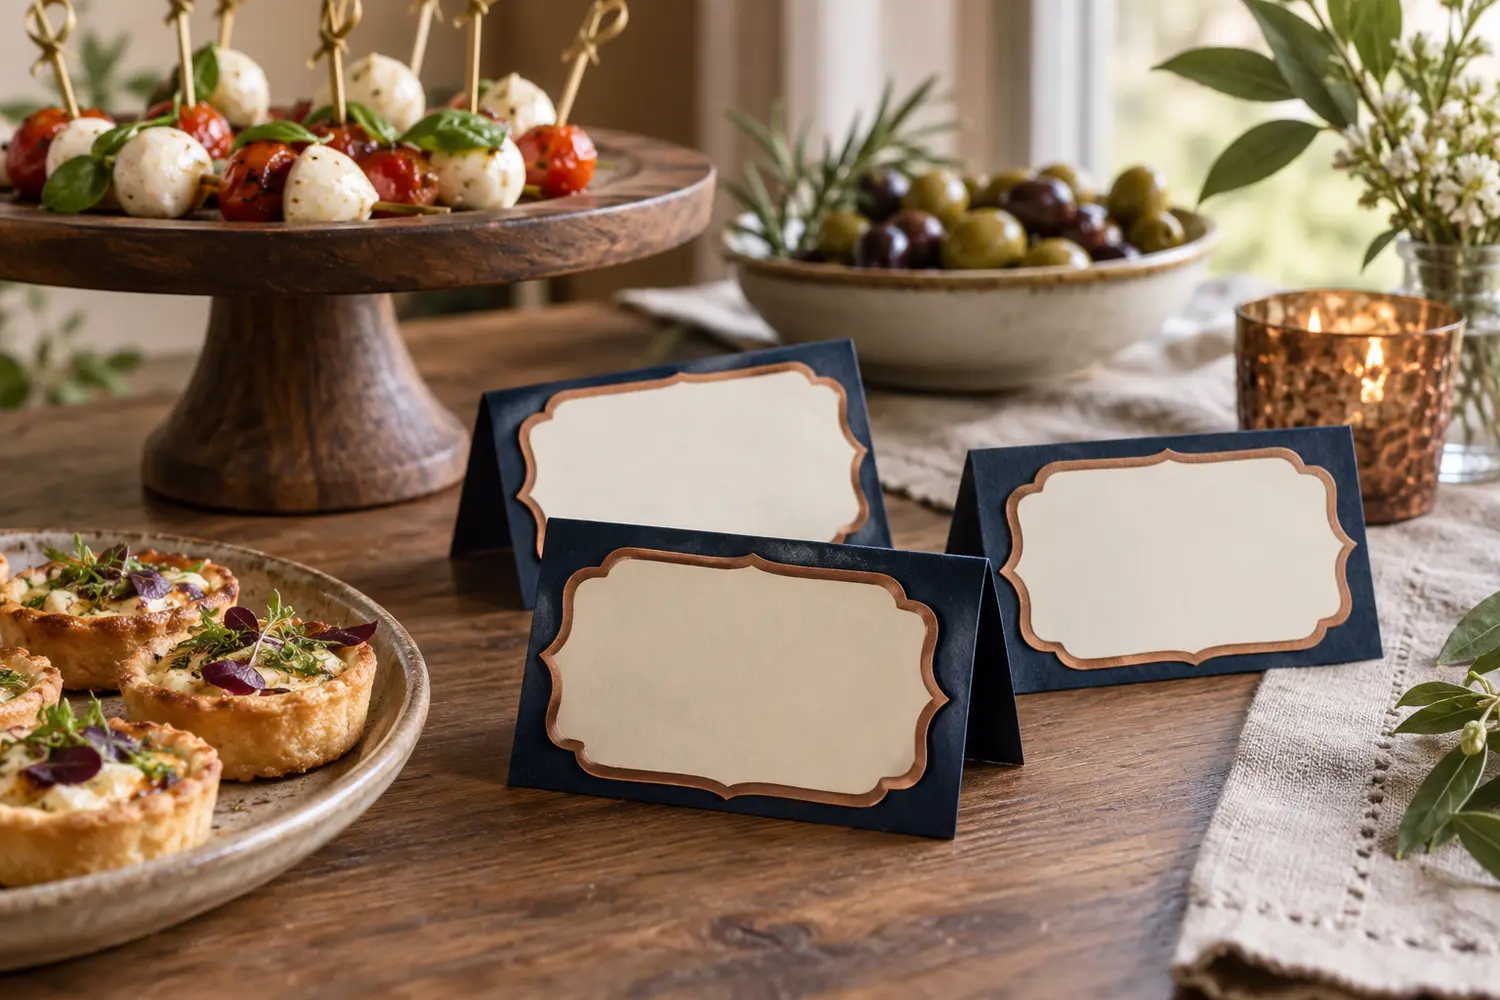
I was inspired with these templates to put together a a Treat Label for a party Table
What you will need:
 Step Two: Cut your piece out - you will have two finished pieces
 Step Three: Cut a rectangle piece 2 1/4 times larger then the height of your bracket
Step Four: Fold in Half and Press
Step Three: Cut a rectangle piece 2 1/4 times larger then the height of your bracket
Step Four: Fold in Half and Press
 Step Five: Glue or Tape (with double sided tape) your bracket in place - now this is where the finished piece is up to you. You could leave it like this and write on it just like this. Or you could continue to embellish and make a folded over bottom
 Step Six: Fold equal sections of the bottom and glue or tape one piece over the top

 Step Seven: Embellish as you wish - I used the inside bracket piece on the reverse side to add a little spunk, and added a white label from the Tiny Tags & Little Labels Template For this finished piece:

- Tiny Tags & Little Labels Template
- Build a Banner Template
- Double Sided Coordinating Paper (I used the Grapefruit Collection)
- Tape - Marker (letter stickers) - Embellishments of your Choosing
 Step Two: Cut your piece out - you will have two finished pieces
 Step Three: Cut a rectangle piece 2 1/4 times larger then the height of your bracket
Step Four: Fold in Half and Press
Step Three: Cut a rectangle piece 2 1/4 times larger then the height of your bracket
Step Four: Fold in Half and Press
 Step Five: Glue or Tape (with double sided tape) your bracket in place - now this is where the finished piece is up to you. You could leave it like this and write on it just like this. Or you could continue to embellish and make a folded over bottom
 Step Six: Fold equal sections of the bottom and glue or tape one piece over the top

 Step Seven: Embellish as you wish - I used the inside bracket piece on the reverse side to add a little spunk, and added a white label from the Tiny Tags & Little Labels Template For this finished piece:
