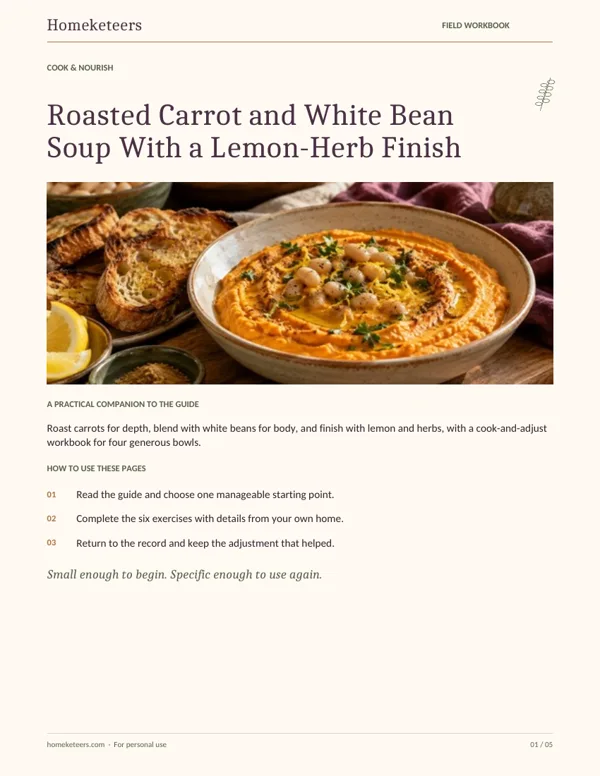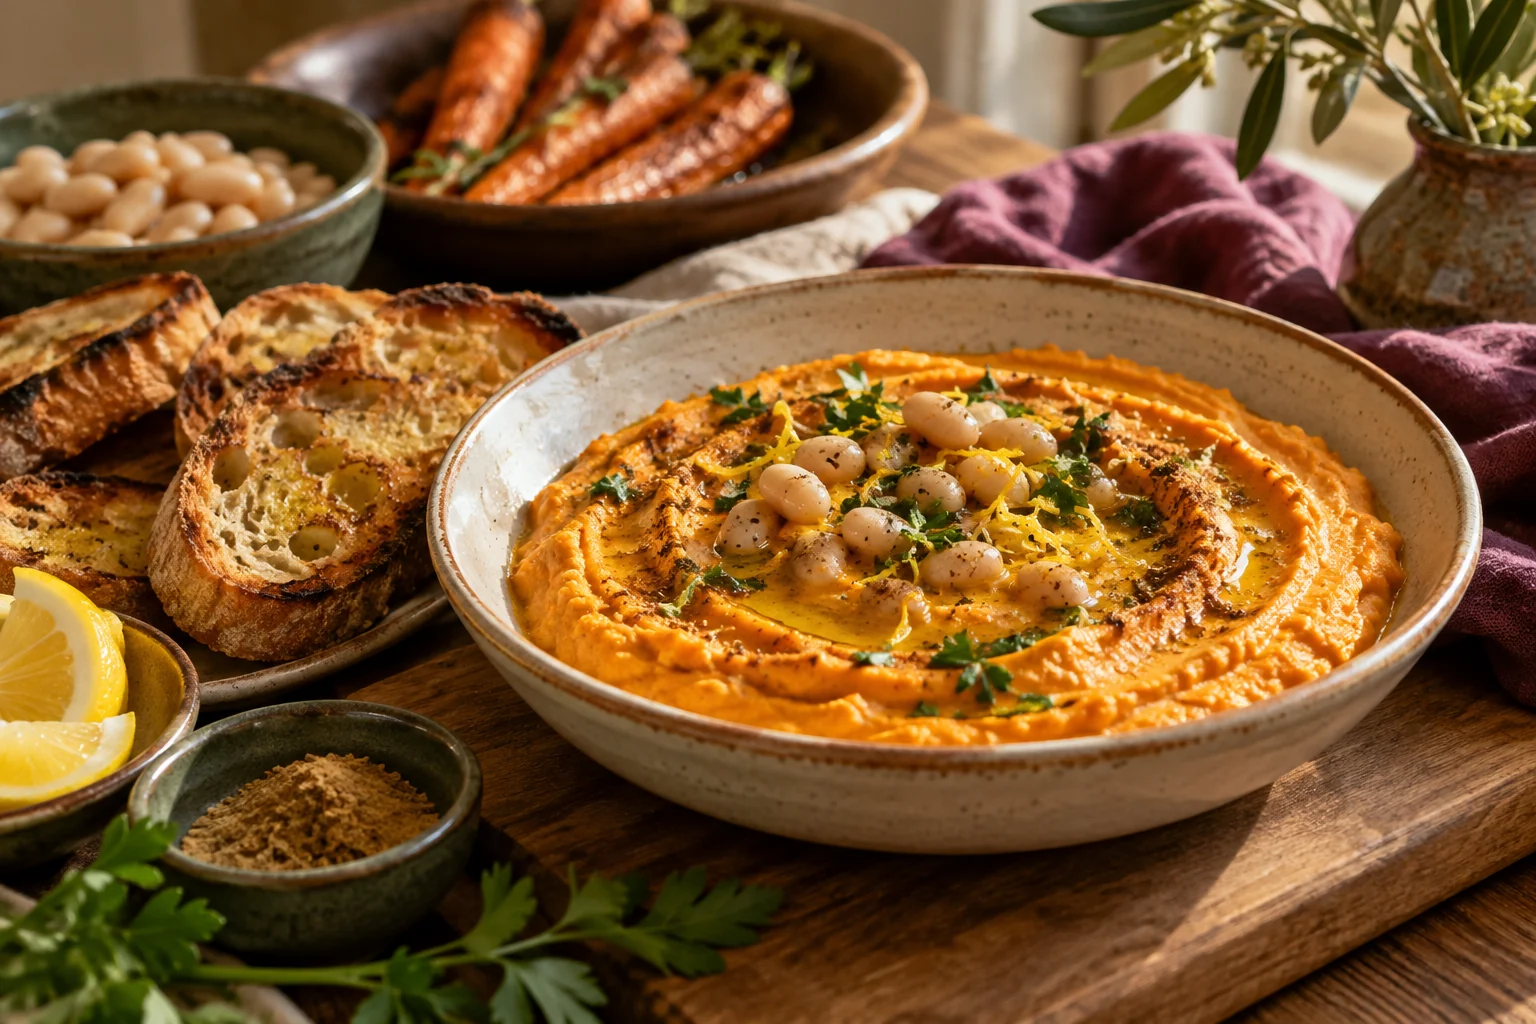
A satisfying soup needs more than a warm color and a suggestion to add whatever is in the refrigerator. This roasted carrot and white bean soup uses three deliberate choices: roast the carrots to build sweetness, blend white beans into the broth for body, and finish with lemon only after the vegetables are tender. The method creates a substantial bowl without cream and gives you clear places to adjust texture and flavor.
The Homeketeers finish-in-the-bowl method also keeps the meal flexible. The soup base stays mild, while each person can choose lemon, chopped herbs, black pepper, or toasted bread at the table. That is useful when a household shares a pot but not the same appetite for acidity or seasoning. Make the base first, then let the final small choice belong to the person eating it.
Recipe quantities and equipment
For four generous bowls, use 1½ pounds carrots, peeled if desired and cut into roughly one-inch pieces; 1 medium onion, chopped; 3 garlic cloves, finely chopped; 2 tablespoons olive oil, divided; 2 cans white beans, 15 ounces each, drained and rinsed; 4 cups low-sodium vegetable broth, plus extra for thinning; ½ teaspoon dried thyme; ½ teaspoon ground cumin; and ½ teaspoon fine salt to start, adjusted to the broth and taste. Have black pepper, 1 lemon, and 2 tablespoons chopped parsley or another known culinary herb ready for finishing.
You need a rimmed sheet pan, a soup pot, a spoon, and an immersion blender or a countertop blender suitable for hot liquids. Set aside half a cup of the drained beans if you want a visible bean garnish. If using a countertop blender, follow its hot-liquid instructions, vent as directed, and work in small batches. Never seal hot soup in a personal blender that is not designed for it.
Allow about twenty minutes of hands-on preparation and roughly thirty-five to forty-five minutes of cooking, with some overlap. Oven performance and carrot size affect timing. The meaningful endpoint is tender carrots with browned edges, not the exact moment a timer rings. The soup should then blend easily without grainy chunks of firm carrot.
Roast for flavor without drying out the carrots
Heat the oven to 425°F. Toss the carrot pieces with 1 tablespoon olive oil and part of the starting salt. Spread them on the sheet pan with enough space for heat to reach the surfaces. If the pan is crowded, use a second pan or accept a softer, less browned result. Crowding is a cooking condition, not a personal mistake.
Roast for about twenty-five to thirty-five minutes, turning once, until the carrots are tender and browned in places. If edges darken before the centers soften, reduce the oven temperature slightly or cover loosely for part of the remaining cook. Do not let them become hard and shriveled. A fork should enter easily. Keep any flavorful browned bits on the pan, but leave behind burnt material.
Build a gentle aromatic base while the pan cooks
Warm the remaining tablespoon of olive oil in the soup pot over medium heat. Add the onion and cook for about eight minutes, stirring, until soft and beginning to turn translucent. Lower the heat if it browns quickly. Add the garlic, thyme, and cumin and stir for about thirty seconds, just until fragrant. Garlic should not burn while you wait for the carrots.
Add the broth and most of the beans. Bring to a gentle simmer. When the carrots are ready, add them and scrape in a little broth from the pan if needed to loosen the unburnt browned bits. Simmer the combined soup for about ten minutes so the flavors come together. Keep the heat moderate; a violent boil adds little value and makes splashing more likely.
Blend to the texture you actually want
Take the pot off the heat before using an immersion blender. Keep the blade submerged and follow the appliance instructions. Blend until smooth enough for your preference. White beans give the soup body, but different brands and carrot batches can change how thick it becomes. Add extra broth a quarter cup at a time if it feels more like a puree than a spoonable soup.
For a partially textured version, remove a ladle of cooked beans and carrots before blending, then return it afterward. Do not try to create texture by leaving undercooked carrot pieces. Texture is a choice about finished ingredients. If the soup is too thin, simmer gently for a few minutes, stirring to prevent sticking. Add salt only after you have settled the concentration.
Finish with a small flavor ladder
Taste a spoonful once it has cooled enough to judge comfortably. First ask whether the soup needs salt. Then test a few drops of lemon in that spoonful before adding acidity to the entire pot. Sweet carrots can benefit from a bright finish, but a full lemon added blindly can dominate a mild batch. The spoon test lets you choose without committing everyone to the same result.
At the table, offer chopped parsley, reserved beans, black pepper, and lemon wedges. A small drizzle of olive oil is optional. Bread can make the bowl a fuller supper, but the soup already has substance. If serving someone with an allergy or dietary restriction, check the broth, beans, bread, and any garnish labels rather than assuming a cream-free recipe covers every need.
Make substitutions by role
Cannellini, great northern, and other mild cooked white beans can fill the same body-building role. Use about three cups cooked beans if replacing canned beans. A different herb can work when it is a known edible culinary herb and you like its flavor. Rosemary is stronger than parsley, so use it sparingly and chop finely. Avoid substituting an unidentified garden plant simply because it looks or smells herbal.
If you cannot roast, cook the carrots in the broth until completely tender, then blend. The soup will have a different flavor profile, but the basic method remains usable. Do not compensate for missing roast flavor by adding excessive sugar. A little more aromatic depth from the onion and a carefully judged finish can be enough.
A worked example for a divided supper table
Anika makes the soup for herself and two children, with one portion for lunch. She reserves beans for her own bowl and keeps the shared base smooth. One child chooses bread and no lemon; the other likes a small squeeze. Anika adds parsley and pepper at the table. She records that her carrot batch needed an extra half cup of broth after blending.
That note becomes useful next time. She does not rewrite the entire recipe because one batch thickened more than expected. She keeps the ingredient roles stable and adjusts the finishing step. The workbook captures a household preference without turning the recipe into four separate dinners.
Store the soup as food, not as a countertop ritual
Refrigerate perishable leftovers within two hours, or within one hour when the surrounding temperature is above 90°F. Use shallow containers for prompt cooling and keep the refrigerator at 40°F or below. Label the container with the date and use refrigerated leftovers within three to four days, or freeze for longer storage. Reheat leftovers to 165°F, checking with a food thermometer.
Keep fresh garnishes separate when possible. Frozen soup may need a little broth and stirring after reheating. Thaw in the refrigerator or use another safe method rather than leaving the container out all day. The intention of a nourishing meal includes what happens after the first bowl, especially when tomorrow’s lunch is part of tonight’s plan.
Your Homeketeers field workbook: put this guide into practice
Keep the companion kitchen workbook beside the stove. It includes the recipe quantities, a preparation sequence, and spaces for the adjustments that make this meal work in your own kitchen. Record the result before changing several ingredients on the next cook.
Prepare the ingredient check
Record the carrot weight, bean type, broth brand, and starting salt. Note dietary needs and check packaged ingredients. Mark the garnish portion before blending. A useful ingredient check captures the items most likely to alter thickness or seasoning, rather than duplicating every word of the recipe.
Map the overlapping cook
Write the order: heat oven, prepare carrots, begin roasting, soften onion, add aromatics and broth, combine, simmer, blend, finish. Record the carrot tenderness check. Leave room for actual timing. This sequence helps you use the roasting interval without rushing the garlic or overlooking the pan.
Record the texture adjustment
Note the broth added after blending and the final texture. If reserving chunks, record how much you removed before blending and whether the carrots were fully tender. Keep the adjustment specific enough to repeat. “Too thick” is less useful than “added half a cup of broth after blending.”
Use the spoon test
Draw three small tasting spaces: base, salt adjustment, lemon adjustment. Record what improved the flavor before changing the pot. Note the garnish choices at the table. A spoon test protects the full batch and lets you compare a small change without making another meal.
Plan the second meal
Write how many portions remain, container sizes, cooling time, refrigerator date, and the planned lunch or freezer destination. Record any extra broth needed on reheating. Keep the garnish separate. The second-meal plan should be made while the pot is still being divided, not after a container has sat forgotten.
Keep the household version
Record one preferred adjustment and one thing to leave unchanged next time. Note whether the finish-in-the-bowl setup helped different preferences. Do not change roasting, bean quantity, herbs, and acidity all at once. A stable base makes the next cook easier to understand.
Keep a record that tells you what actually changed
After the meal, record whether the soup felt substantial enough for the occasion and whether the finishing choices made serving easier. Keep the notes brief and concrete. If the next batch differs, begin with carrot tenderness, broth concentration, and bean quantity. The recipe becomes yours through observed decisions, not through a growing list of random additions.