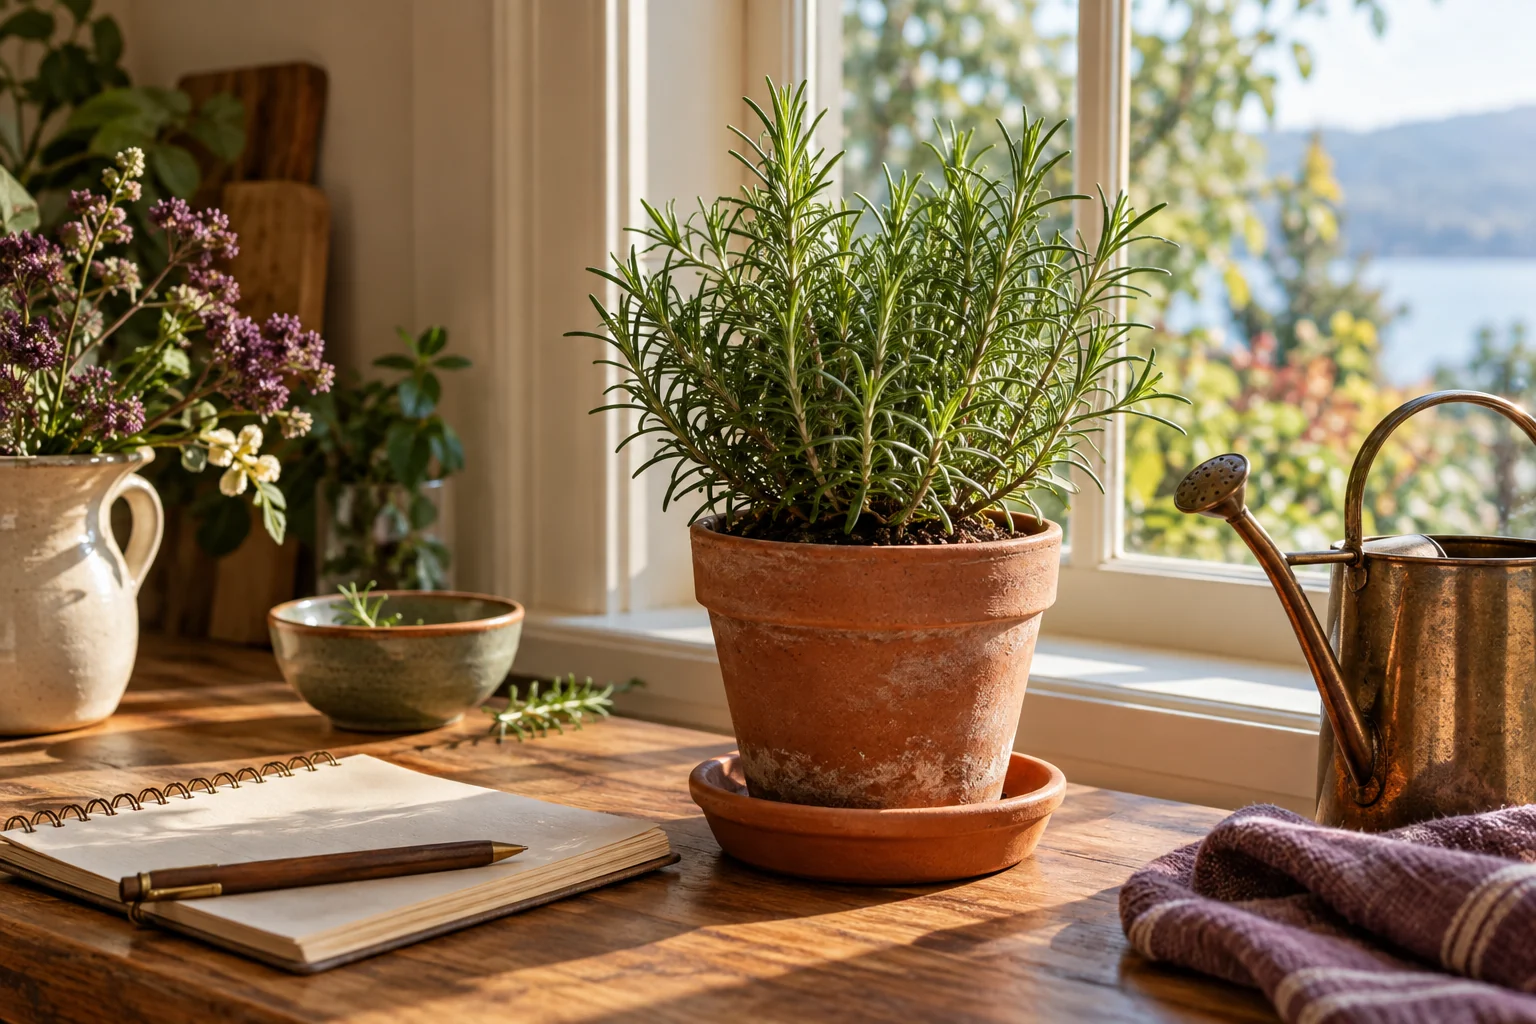
Bringing rosemary inside can feel like rescuing a small piece of summer. Yet a warm room alone does not make a winter home suitable for this sun-loving plant. Light, drainage, air circulation, and watering all change when a pot crosses the threshold. The Homeketeers winter window test helps you decide whether your actual room can support your actual plant before you rearrange the whole house around it.
This is a care and observation guide for a known culinary rosemary plant in a container. It is not a promise that every outdoor rosemary will survive indoors. Regional winters, plant condition, and available light vary. The useful outcome is a sensible decision: bring it in with a workable care plan, add suitable light, or harvest what you can and begin again later.
Start with the plant you have
Inspect the stems and foliage in daylight. Look for active growth, dead branches, webbing, insects, and areas that have become brittle or discolored. Check whether the pot has drainage holes and whether water can actually leave them. A pot sitting permanently in a decorative sleeve full of water has drainage holes in theory but poor drainage in practice.
Write down the variety if you know it and the outdoor conditions it has been living in. A plant accustomed to full outdoor sun will experience a substantial reduction in light at most windows. Do not assume that a bright-looking room gives the plant enough usable light. Human eyes adjust to indoor brightness more readily than a rosemary plant adjusts to an inadequate growing position.
Read the window across an ordinary day
Choose the brightest practical window, often a south-facing one in the Northern Hemisphere, and observe it morning, midday, and afternoon. Note direct sun, buildings, trees, curtains, and overhangs. The glass itself does not tell the whole story. A window facing the right direction can still be shaded for much of the day. Record where light actually reaches the foliage.
Consider whether the plant can remain there without being knocked over or moved repeatedly. Keep it clear of heating vents, extreme drafts, and places where foliage presses against very cold glass. If winter light is limited, a suitable grow light may help. Follow the light manufacturer's guidance for distance and duration. Avoid copying a fixed distance from another type of fixture; heat and intensity differ.
Prepare an indoor transition without importing problems
Before bringing the pot into the main collection, inspect the leaves, stem junctions, pot rim, and underside of the container. Remove dead material and address visible pests with a plant-appropriate method. Keep a newly moved plant apart from established indoor plants while you monitor it. Isolation is a practical observation step, not a guarantee that every pest will be spotted.
If the rosemary has been growing in the ground, lifting it introduces a separate root disturbance. A plant already in a pot is a simpler first overwintering project. Avoid unnecessary repotting immediately after moving indoors unless the container or drainage genuinely requires attention. Changing light, roots, fertilizer, and watering all at once makes it harder to know what helped or caused a problem.
Replace the watering calendar with a moisture check
Outdoor watering habits may become excessive inside, where growth and evaporation often slow. Check the potting mix before watering rather than automatically continuing a summer schedule. Rosemary needs a mix that drains well and should not sit in persistent saturation. At the same time, allowing the entire root ball to become severely dry can damage the plant. The task is to learn the pot's changing pace.
Use the same check each time: feel the upper mix, notice the weight of the pot, and inspect foliage. When watering is needed, water the root zone and let excess drain away. Empty the saucer. Record the date and conditions. A small pot near a warm vent may dry differently from a larger pot in a cooler room. Your observation log should capture that difference instead of forcing both plants onto one timetable.
Give the plant a stable two-week trial
Place the rosemary in the chosen position and leave the main conditions stable long enough to observe a pattern. Make brief notes every few days: light, moisture, leaf condition, and any new growth. Turn the pot gently if one side is leaning strongly toward the light, while keeping the overall position consistent. Take a photograph from the same angle so you can compare change without relying entirely on memory.
Avoid heavy harvesting while the plant adjusts. Take only small amounts if it remains healthy, and do not strip a struggling plant because you fear losing the leaves later. Fertilizing a stressed plant is not a substitute for adequate light or healthy roots. Follow reputable local extension guidance and the product label if feeding becomes appropriate during active growth.
Distinguish warning signs before changing the routine
Dry-looking leaves do not always mean the plant needs more water. Root damage from excessive moisture can also leave foliage distressed. Check the mix and drainage before responding. If the pot remains wet for long periods, investigate light, temperature, drainage, and the suitability of the mix. If the root ball is unusually dry, water carefully and monitor the response without assuming immediate recovery.
Fine webbing, stippling, or visible insects call for a pest check. Isolate the plant and identify the problem before choosing a treatment. If you intend to eat the rosemary, use only treatments labeled for that plant and edible use, following all harvest restrictions. A homemade spray is not automatically harmless to foliage, people, or pets. Keep the plant and any products away from pets that chew vegetation.
A worked example with a shaded kitchen
Leah wants her rosemary beside the sink because she cooks there. Her observation sheet shows that the window is shaded most of the day by a porch roof. The dining-room window receives substantially more direct sun and has a sturdy stand away from the radiator. She chooses that position, checks the pot every few days, and records when it actually needs water.
After two weeks, the plant remains stable but grows slowly. Leah harvests sparingly. She does not interpret slow winter growth as a demand for more fertilizer. If the light later becomes insufficient, she can consider a grow light with a clear purpose. The notebook has turned a vague rescue attempt into a manageable experiment with specific next steps.
Decide what you are willing to maintain
A successful winter plant should fit the household as well as the windowsill. If the only suitable location blocks a walkway, requires constant moving, or creates a risk for a curious pet, reconsider the arrangement. Preserving a few sprigs for culinary use and starting a new plant next season can be a reasonable outcome. Keeping something alive should not require inventing space and attention you do not have.
As daylight and temperatures change, continue observing rather than assuming the winter setup will suit the entire year. When returning a plant outdoors, acclimate it gradually to stronger light and outdoor conditions. Record the transition. The same principle applies in both directions: a plant benefits from conditions you can understand, not from a dramatic gesture followed by an unchanged routine.
Your Homeketeers field workbook: put this guide into practice
The companion field workbook turns this guide into a record of your own place. Use the observation spaces before making changes, then keep the results beside next season’s plans. Dates, conditions, and small adjustments are more useful than a perfect-looking page.
Record the starting condition
Note plant source, variety if known, container size, drainage, and visible concerns. Photograph foliage and the whole pot. Separate what you can observe from what you are guessing. This starting record gives you a comparison point when leaves or growth change after the indoor move.
Map three window observations
For morning, midday, and afternoon, record direct sun, shade sources, and whether light reaches the foliage. Note heating vents, cold glass, and household traffic. Choose the most workable location from observed conditions. A window map should describe the plant’s position, not only the direction the room faces.
Plan inspection and separation
Write what you checked on foliage, stems, pot, and saucer. Record any pests and the action taken. Choose a temporary location apart from established plants while monitoring. If treatment is needed, document the product label and any edible-harvest restrictions rather than relying on a remembered suggestion.
Keep the two-week moisture record
Use dated rows for upper-mix condition, pot weight, watering, drainage, and leaf response. Keep the checking method consistent. Record an empty saucer after watering. The purpose is to discover the pot’s pace indoors, not to fill every row with a watering event.
Evaluate the light decision
After two weeks, compare photographs and notes. Record stable growth, leaning, leaf loss, or other changes. Decide whether to keep the location, investigate a problem, or add suitable light. Change one condition deliberately where possible so the next observation has a useful explanation.
Write the sustainable care plan
State the checking routine, acceptable harvest amount, chosen location, and who will care for the plant when you are away. Include a plan for gradual outdoor acclimation later. If keeping the plant is impractical, record what you learned for next season without treating that decision as failure.
Keep a record that tells you what actually changed
Review the winter record once a month and when daylight changes noticeably. Look for patterns between moisture, light, and foliage rather than judging one leaf in isolation. Keep the plan small enough to use. A rosemary plant can become a companion to seasonal attention, but the practical achievement is learning to read the conditions you have and making a care decision you can maintain.