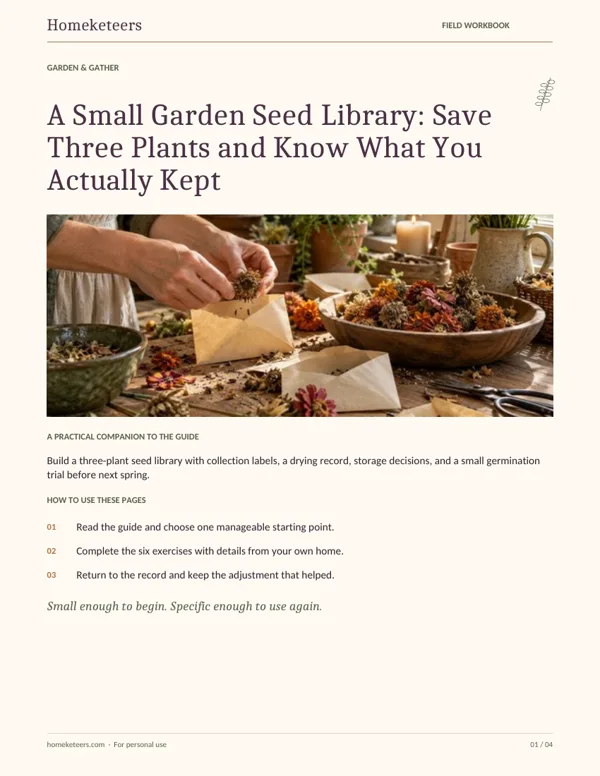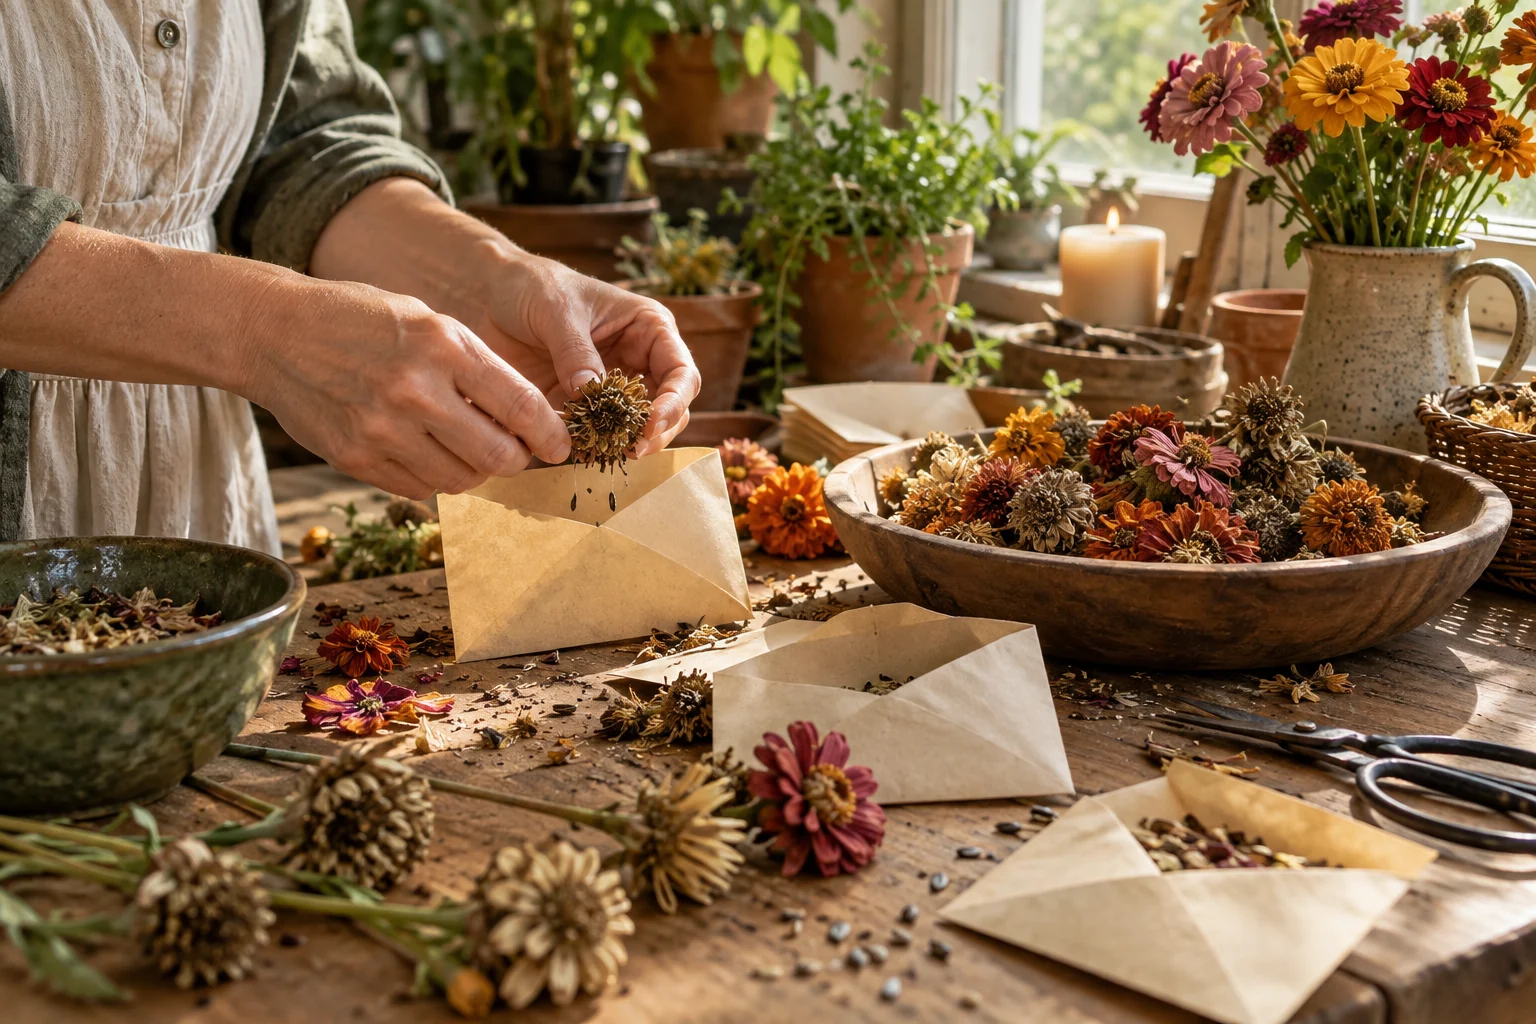
A jar of seeds can feel like a promise. But without a name, a collection date, and some knowledge of the parent plant, it is also a small mystery. The Homeketeers three-plant seed library gives that promise a practical structure: one plant you can identify, one collection batch you can keep separate, and one result you can check next season. Start with three plants, not the entire garden.
This guide focuses on dry seeds from plants you already grow and can identify confidently. It does not cover fermenting tomato seeds, harvesting wild foods, or collecting rare plants. You will finish with labeled seed batches and a plan for using them. The quiet magic is in returning something to the soil with enough knowledge to learn from the result.
Choose the plants before collecting anything
Walk your garden with the original seed packets or planting notes. Choose three healthy plants with dry seed heads or pods you can recognize. A known open-pollinated bean, a marigold, and a calendula can make a manageable first collection. The precise choices depend on what you grow. Do not identify an unfamiliar plant from a vague resemblance to an online photograph, and do not eat a saved seed unless it is from a known food crop and intended for that use.
Write the plant name, variety if known, and whether the original packet said hybrid. Seeds from hybrids may grow plants that differ from their parents. Cross-pollination can also change the next generation, even when a variety is open-pollinated. Saving seeds does not automatically preserve an exact flower color or vegetable characteristic. Decide whether you want a learning experiment or a reasonably predictable crop, then label accordingly.
Build a collection kit that preserves the identity
Gather small paper bags, envelopes, a pencil, a clean tray, and a few breathable containers. Use one collection bag per plant batch. Write the label before you pick the seed head, while you still know which plant you are looking at. Include the common name, botanical name if confirmed, variety, collection date, and a batch code such as CAL-01. Add the garden location so you can return to the same parent plant.
Collect only from your own plants or where you have clear permission. Leave plenty of seed for wildlife and natural regeneration. A home seed library does not require stripping every stem. Keep children involved through sorting known material, but supervise small seeds, tools, and any plant that should not be handled or tasted. Garden seeds are not play food.
Learn the difference between a dry flower and a mature seed
A flower can look tired before its seeds are ready. Look for mature, dry seed heads or pods and consult a reliable plant-specific guide when the timing is unclear. Avoid collecting material wet with rain or dew. Moisture makes drying harder and increases the chance of spoilage. Choose a dry day and collect only the portion that appears ready, leaving immature heads on the plant.
With beans, allow suitable pods to mature and dry on the plant when weather permits. With flowers, inspect a few heads rather than assuming every faded bloom contains viable seed. Seeds should have developed substance, not simply an empty husk. Record what you saw. If you are unsure whether a batch was mature, label it experimental instead of quietly treating it as dependable spring planting stock.
Separate collection from final storage
Bring the bags indoors and spread each batch separately in a thin layer on a clean tray or sheet of paper. Choose a dry, ventilated place away from direct heat, strong sunlight, pets, and household food preparation. Turn or stir the material gently as needed. There is no single drying time that fits every seed and every home. Humidity, seed size, and the amount of attached plant material all matter.
Remove obvious chaff once the material is dry enough to handle. You do not have to produce a commercially clean batch. The aim is to remove debris that holds moisture and to preserve enough identity to know what you collected. Keep the original bag beside the tray. If two batches get mixed, write that on the label. A mixed batch can still be an experiment, but it is no longer the same record.
Make the storage decision after checking dryness
Place thoroughly dry seeds in labeled paper envelopes. If using an airtight outer container, the seeds must already be dry; closing a jar is not a drying method. Choose a cool, dry, dark location with stable conditions. Keep the envelopes away from a humid bathroom, a hot car, and a kitchen shelf above steam. Check a new batch for moisture or mold and discard compromised material rather than sharing it.
Seed longevity varies by species and storage conditions. Plan to use a small home collection promptly, preferably in the next growing season. Record where you stored it and whether the environment changed. If a batch is especially important, retain purchased seed as backup. Your first seed library is a learning system, not a guarantee that every plant will return exactly as it was.
Run a small germination trial before relying on the batch
Several weeks before planting, choose a species-appropriate germination method. Some native plants need specific pretreatments or cold stratification, so a generic damp paper towel test can give a misleading result. For an uncomplicated bean batch, count ten seeds, place them on a damp towel in a suitable container, and monitor moisture without leaving the seeds submerged. Keep the batch label with the test and follow the usual temperature and timing guidance for the crop.
Count normal sprouts and record the number out of ten. Seven sprouted seeds from ten tested gives a small-sample result of seventy percent, not a definitive laboratory rating. Use it to decide whether to sow extra, try another small sample, or keep backup seed. Do not eat seeds used in the test. The value is in making a planting decision before you commit the whole bed.
A worked example for a modest backyard
Mara chooses calendula, marigolds, and an open-pollinated bush bean from labeled plants. She collects only a handful from each and assigns CAL-01, MAR-01, and BEAN-01. The calendula batch includes some heads she is uncertain about, so she keeps those in a separate experimental envelope. The bean seeds dry on their own tray and go into storage with the parent packet attached to the record.
In spring, her bean trial produces eight normal sprouts from ten seeds. She plants a small row with backup seed available. The marigolds grow in varied colors, which she records as an expected possibility rather than a failure. Her library has already done its job: it has preserved a relationship between the parent plant, the saved seed, and the next decision.
Troubleshoot the record before blaming yourself
If the envelopes smell musty, investigate moisture and discard questionable material. If nothing germinates, check maturity, age, test conditions, and any species-specific dormancy requirements. If flowers look different, revisit hybrid and pollination notes. If labels disappear, simplify the system to fewer batches and write directly on both bag and envelope. A smaller trustworthy library is more useful than a drawer full of beautifully packaged uncertainty.
Your Homeketeers field workbook: put this guide into practice
The companion field workbook turns this guide into a record of your own place. Use the observation spaces before making changes, then keep the results beside next season’s plans. Dates, conditions, and small adjustments are more useful than a perfect-looking page.
Choose three known plants
List the plant, confirmed variety, packet source, and garden location for each collection. Mark hybrid, open-pollinated, or unknown. Write whether the batch is for predictable planting or experimentation. Leave an unknown name unresolved rather than inventing certainty; choose another plant if identity is not secure.
Record the collection conditions
For each batch, note the date, recent weather, seed-head or pod condition, and how much you left on the plant. Draw or photograph the parent plant. Give the batch a short code and put it on every container before collecting. This ties the physical seed to a specific source.
Keep a drying log
Record where the seeds dry, how they are spread, and when you inspect them. Note moisture, chaff removal, or signs of spoilage. Do not fill in a predetermined completion date. Record the observed condition that led you to move the seeds into storage.
Create an honest envelope label
Write plant name, variety, collection date, batch code, parent source, and any uncertainty. Add a warning if the seeds are not for food use. Include a planned growing season and storage location. If batches mixed, say so prominently rather than maintaining a false variety label.
Plan a species-appropriate trial
Write the germination method, temperature guidance, pretreatment if required, sample size, and check dates. Record normal sprouts separately from mold or damaged seedlings. Turn the result into a practical planting decision: sow extra, retest, use backup seed, or retire the batch.
Close the loop next season
Record what actually grew, where you planted it, and which traits changed. Keep photographs with the batch code. Decide whether to save again from this plant or return to a purchased variety. A completed record includes the next generation, not simply the day you filled an envelope.
Keep a record that tells you what actually changed
At the end of the next growing season, review the three batches side by side. Which labels were sufficient, which storage location was reliable, and which plant was worth repeating? Keep the method that helped you make a decision. Retire a confusing batch without making seed saving into a test of your worth as a gardener. A practical seed library can hold both continuity and surprise, provided its records tell you which is which.