
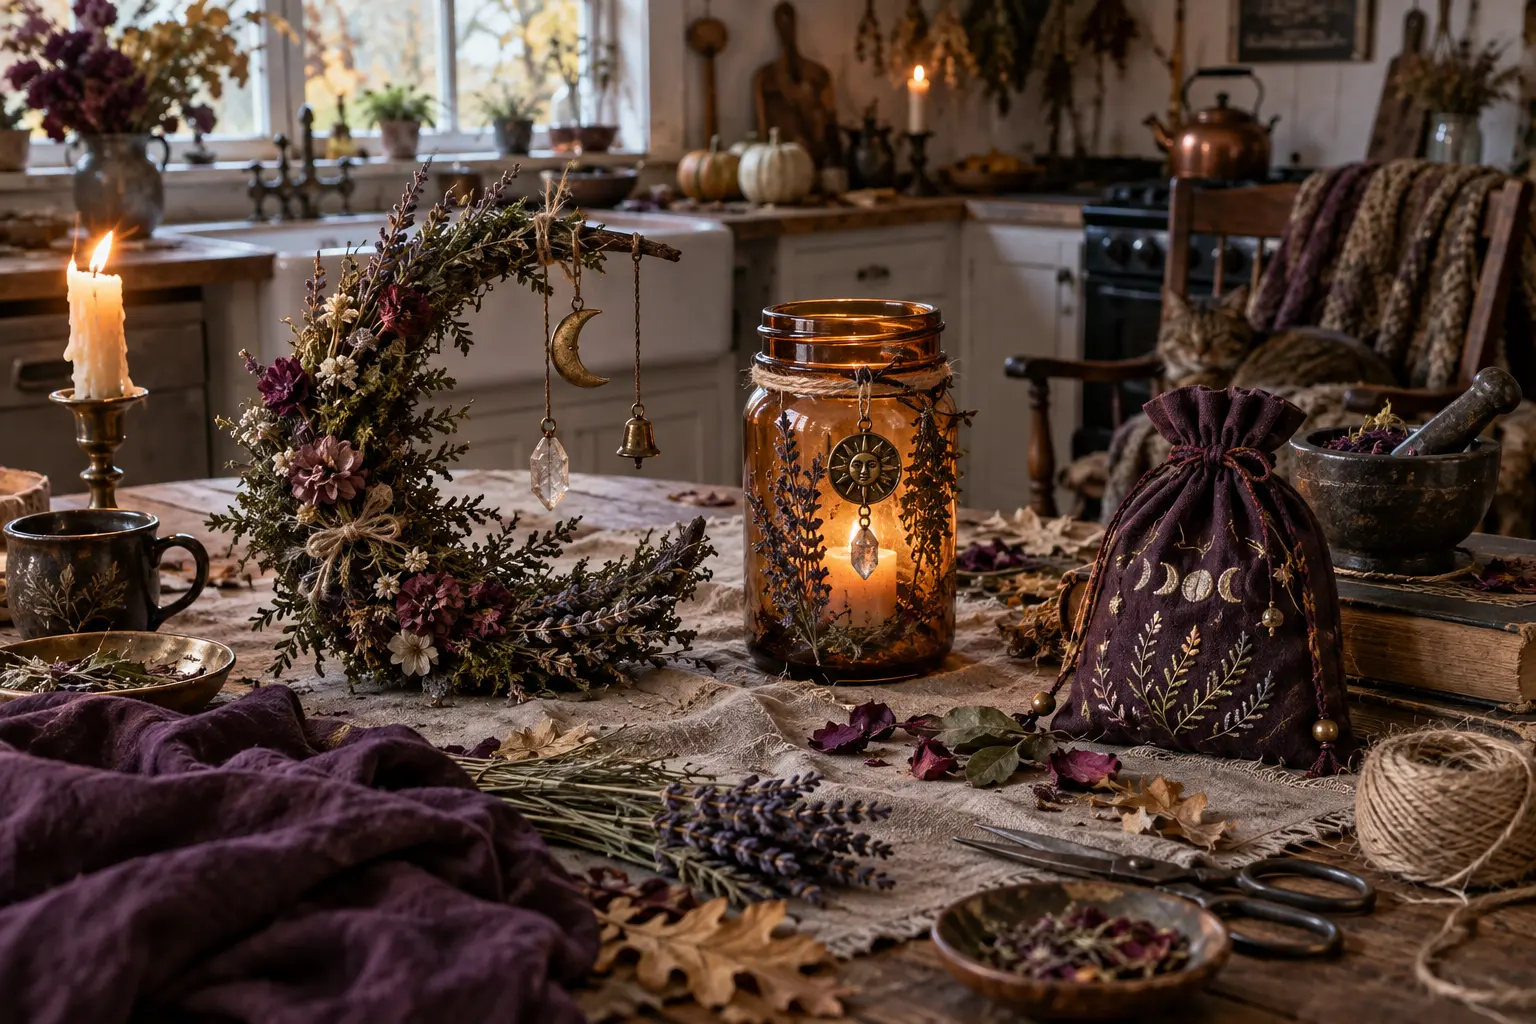
I love beautiful witchy objects, but I do not love projects that require a hundred dollars in specialty supplies, a perfectly styled craft room, or three silent hours that no woman with a household can reliably promise. These three projects are made for real tables and real life. They are useful, forgiving, and personal enough to become part of the rhythm of your home rather than another seasonal object you have to store.
None of these crafts requires you to claim a belief you do not hold. A wreath can be a visual reminder of protection. A lantern can hold a written intention. A pouch can carry a small collection of objects that bring you back to yourself. The meaning comes from your attention, your choices, and the way you use the finished piece. That is the kind of everyday magic I trust.
Project One: Crescent Herb Wreath
What you need
- One 12-inch grapevine wreath
- Floral snips and 24-gauge floral wire
- Two handfuls of flexible evergreen, eucalyptus, rosemary, or cedar
- Dried lavender, yarrow, statice, seed heads, or small fabric flowers
- Three feet of narrow ribbon or cotton twill tape
- Optional crescent charm, bell, crystal, or family keepsake
Choose plants that are safe for your household. If a child or pet may chew the wreath, hang it well beyond reach and avoid toxic botanicals. Never place dried herbs near an open flame or hot light fixture.
Build the crescent
- Lay the grapevine ring flat. Decide which third will remain mostly bare. The decorated two-thirds will create the crescent shape.
- Cut greenery into pieces six to nine inches long. Make five or six loose bundles, each with three or four stems. Wire each bundle near its cut ends.
- Place the first bundle at the lower point of the crescent. Wrap the wire around the wreath three times. Add the next bundle so its leafy end covers the first bundle's wire. Continue upward.
- At the top point, reverse the final two bundles so the tips taper gracefully toward the bare section. Use small clipped pieces to soften any blunt transition.
- Tuck dried flowers into the wired bundles. Distribute them unevenly in odd-numbered clusters. A perfectly repeated pattern looks manufactured; a little irregularity feels gathered.
- Tie ribbon at the lower third or attach a meaningful charm with wire. Add a hanging loop to the back and test its balance before trimming wire ends.
Real-home example: If you are making this while supervising homework, prepare the bundles first and keep the wire work for after younger children are finished at the table. The project can pause after every bundle without being ruined. When I want the wreath to mark a new season, I remove only the brittle flowers, keep the base greenery, and tuck in what is actually growing or available now.
Give it a job
Before hanging the wreath, name what you want it to remind you of. Keep the language grounded: “This home is allowed to be peaceful,” “We do not bring contempt through this door,” or “Rest belongs here too.” The wreath does not enforce the boundary for you. It becomes a visible cue to practice it.
Project Two: Amber Intention Lantern
What you need
- A clean amber jar or clear canning jar
- Pressed leaves, translucent tissue, or thin dried petals
- Matte decoupage medium and a soft brush
- Jute, velvet ribbon, or waxed cord
- A battery-operated tea light
- Small slips of acid-free paper
Use a battery light. Paper, dried plants, twine, glue, and open flames do not belong together. A safe ritual is not less sacred because the candle has a switch.
- Wash the jar and remove all oil from the outside with rubbing alcohol. Let it dry fully.
- Brush a thin coat of decoupage medium onto one small area. Lay a pressed leaf or torn tissue over it, then brush gently from the center outward. Continue around the jar while leaving open areas for light.
- Let the first layer dry for thirty minutes. Add a thin sealing coat and allow it to cure overnight.
- Tie cord around the neck. Do not create a handle unless the jar is engineered for hanging. This lantern should sit on a stable surface.
- Write one intention as a practice, not a fantasy. Instead of “Everyone will respect me,” write “I will respond when disrespect appears.” Fold the slip once and place it beneath the jar, not inside against the light.
Turn the lantern on during journaling, family check-ins, or the ten minutes after the house settles. If your intention changes, replace the paper. You are not breaking a spell. You are responding honestly to your life.
Project Three: Hand-Stitched Spell Pouch
What you need
- Two 5-by-7-inch rectangles of sturdy cotton, linen, or felt
- Embroidery floss, needle, pins, and scissors
- About 18 inches of ribbon or cord
- Optional fabric paint or a small embroidered symbol
- One to five nonperishable objects chosen for meaning
Avoid loose herbs if the pouch will travel in a purse. They crumble, stain, and can be unsafe around children and animals. Consider a smooth stone, a written word, a key charm, a small photo copy, a piece of ribbon, or a fabric square dabbed with a skin-safe scent you already tolerate.
- Place the fabric pieces right sides together. Pin along the two long sides and one short side.
- Sew a running stitch or backstitch one-quarter inch from the edge. Reinforce the corners. Turn the pouch right side out.
- Fold the raw top edge inward one-half inch and stitch it down to form a channel. Leave two small openings on opposite sides.
- Thread cord through the channel with a safety pin. Knot the ends. If you do not want a drawstring, skip the channel and close the pouch with a button.
- Add a symbol only if it means something to you. A spiral may represent returning, a small house may mean safety, and three stitched lines may represent body, mind, and spirit. There is no spiritual prize for copying symbols you do not understand.
Choose the contents
Start with the purpose. For courage before a hard conversation, you might include the written sentence you intend to say, a stone with enough weight to notice in your hand, and a scrap of red fabric. For calm in a waiting room, include a grounding prompt, a smooth bead, and a scent-free square of soft cloth. For creative focus, carry a tiny pencil, a word that describes the work, and a thread in the project's color.
Hold each object and say why it is there. This prevents the pouch from becoming a collection of borrowed correspondences. “This key reminds me I can leave.” “This stone reminds me to feel my feet.” “This thread reminds me that one small stitch still counts.” That is practical enchantment: meaning made portable.
How to make crafting part of your spiritual life
Do not wait for a ceremonial mood. Clear one square of table. Put the phone out of reach for twenty minutes. Begin with the materials you have. When frustration rises, notice whether the project needs a correction or whether perfectionism has entered the room. Fix what affects function and let the human marks remain.
Invite children without surrendering the whole experience. Give them a parallel jar, fabric square, or small bundle. Explain which tools require an adult. Let their symbolism belong to them. A child who says a blue button means their dog is not doing spirituality wrong.
When the project is finished, clean the table before photographing it. Put tools away, compost safe plant scraps, and write the date somewhere discreetly. The closing matters because it teaches the nervous system that creativity can have an ending. You made something. You used it. You returned the room to ordinary life, carrying a little more intention with you.